
PART 2
This post is a continuation ofWelcome back quilters who also enjoy reading books, particularly paperback books. Today I'll be explaining how to measure your book to determine what cuts you'll need to make.
I purchased this book used, and it already had a little damage to it. The cover was starting to break away from the bound pages and there's clearly some wear and tear.

Let everything dry.
Now that your new or used book is in as good condition as possible, we can measure it and start making our cuts.
First, measure the short side of the cover:

I recorded this measurement as 4". It's definitely OK to approximate within 1/8".
Second, measure the long side of the cover:

Third, measure the depth of the book:

I draw out my measurements like so:

I then add 1.5" to my total length and 1.5" to my total width. My new measurements are 8"x11" (previously 6.5"x9.5"). Your measurements may be different from mine so we'll now call the length A and the width B.
The next key measurement to record is the width of the pockets. You get this measurement by taking the length of the short side of the cover (4") and subtract 1/2". My new measurement is 3.5". Your measurement may be different from mine so we'll now call the pocket width C.
The finished sized pieces you need are as follows:
- One A"xB" rectangle for the outside of the cover
- One A"xB" rectangle for the inside of the cover
- Two C"xA" rectangles for the outside of the pocket
- Two C"xA" rectangles for the inside of the pocket
- One approximately A+1"xB+1" rectangle of batting for the cover (slightly bigger than your fabric cuts to trim with scissors later)
- Two approximately C+1"xA+1" rectangles of batting for the pockets (slightly bigger than your fabric cuts to trim with scissors later)

You can be scrappy, paper piece, English paper piece, make blocks, applique, or cut all of your pieces from a single cut of fabric. In this tutorial I go into details for using 2 fat quarters but feel free to personalize the cover and the outside of the pockets to your hearts content. I will say that there's not much use in piecing the inside of the pockets or the inside of the cover as they are the parts of the cover which will come into direct contact with the book and should be as smooth as possible. Plan to cut those pieces from a single cut of fabric.
Fat Quarter Method
This method works for mass market sized paper back books but not for the 'Opra' sized. You need slightly more fabric for the larger books.

I pulled the print out with all the peeps and paired it with a print from Anna Maria Horner's Innocent Crush line
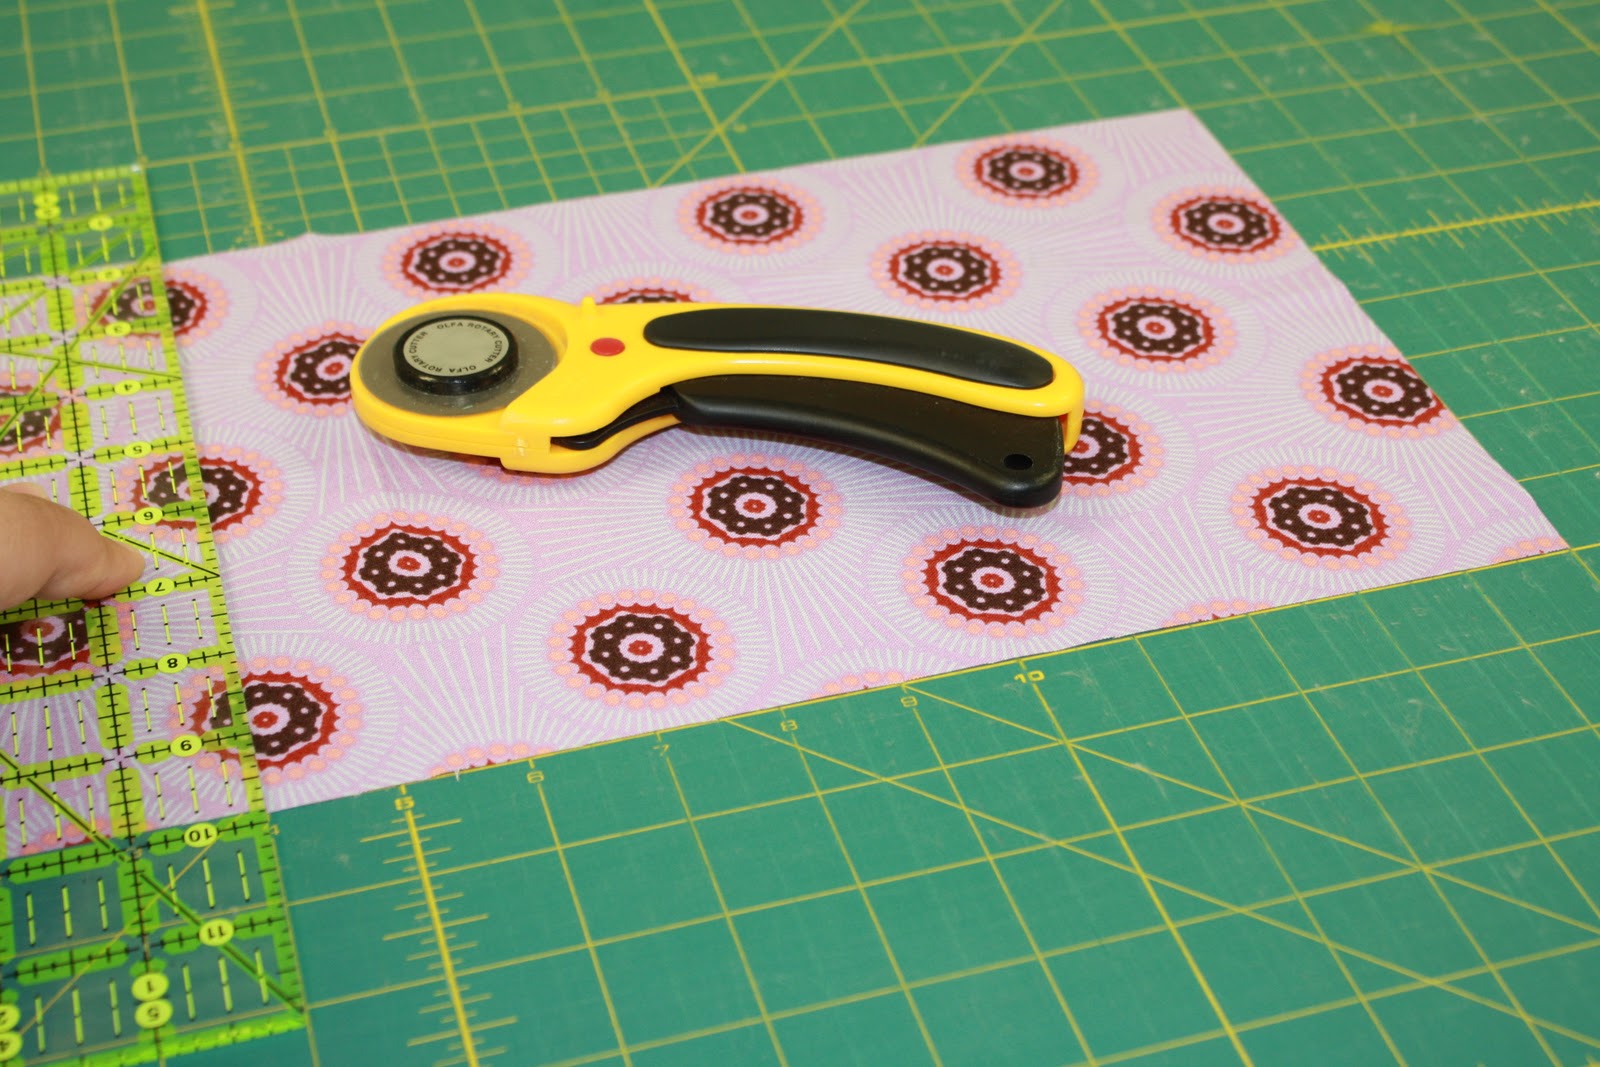
Fold your fat quarter along the short side of the fabric so that you are cutting along the long side of the fabric

Open the cut you just made and cut B (for me this was 11")


A word of caution, if you are using a directional fabric, make sure your cuts are going in the right direction and modify steps accordingly!
To cut my batting, I laid my pieces out on my batting and trimmed around

Tomorrow we will be learning how to sew all of the pieces we just cut together. You homework is to get all of those pieces ready and make any repairs necessary to your book!
Happy Quilting
No comments:
Post a Comment