Hello fellow QALers! This week I'm posting on backing and basting your quilt. If you're not quite there yet, no problem! Just keep chugging along and let me know if you run into any snags. I would love it if you posted pictures of your progress in the Marshmallow Brochette flickr group.
Before I get in to the next set of instructions, I just want to say how excited that you all are embarking on this journey with me. It's so...COOL (for lack of a better word right now) that there are those of you out there who liked my pattern enough that they wanted to make it, AND wanted to make it so much that they are participating in this quilt along.
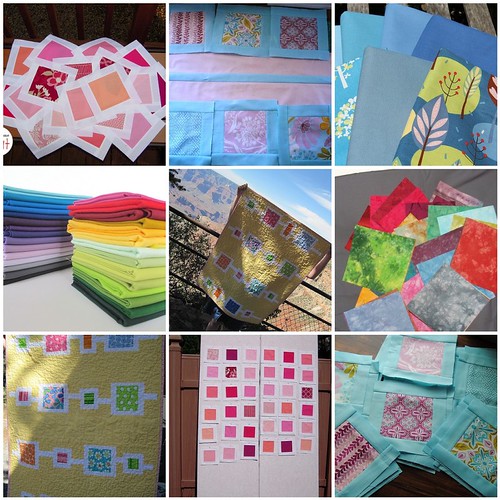
The above pictures were all added to the Marshmallow Brochette QAL flickr group by those of you participating. If I didn't include at least one of your pictures it's because it doesn't appear in the group or isn't sharable. I have really enjoyed following your progress and commenting on your pictures!
On to the instructions...
Well...sort of. This isn't a tutorial on creating your backing or basting. There are some great ones out there so if you need some assistance please google search for tutorials or check out youtube.
If you need to refer back to the supplies list for how much fabric you need for either the mini quilt or lap quilt, check out the first Marshmallow Brochette QAL post.
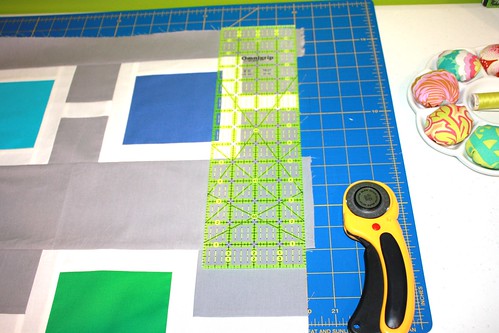
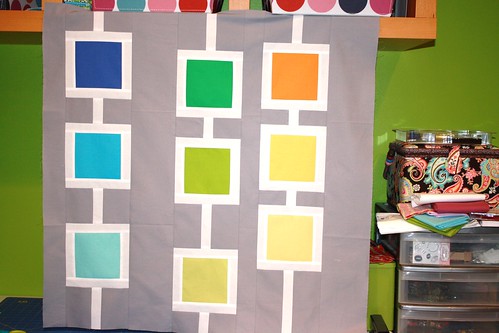
Step 1: Press your quilt top and trim any excess
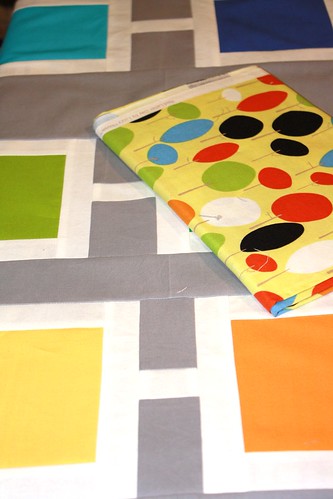
Step 2: Press your backing fabric. I don't have a picture of me actually pressing my backing fabric but here is one OF the backing fabric: *wink*
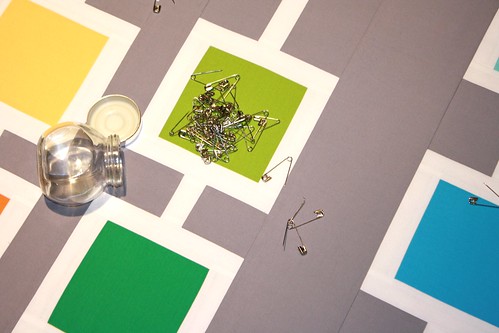
Step 3: Make your quilt sandwich. I generally use a bit of masking tape to keep my backing fabric taut, 100% cotton batting, and safety pins to baste.
Basting is my least favorite part of the quilting process. If you feel the same, trudge through.We're in the home stretch!
Step 4: Shake off your quilt and get ready for quilting next week. I like to keep my quilts hanging or laying flat to avoid getting wrinkles before I am ready to quilt.
Happy Quilting!
2 comments:
I am ONE little final strip away from being finished; then to press the whole flimsy and put up a pic.
The weather got too hot and humid to even think about turning on the iron. Soon tho.
oh, i am so behind but i'm looking forward to getting started. can't wait to see how you decide to quilt this. (and random comment- have you ever tried spray basting? love at first spray....just sayin. i've tried the kind at joann's but it doesn't stay "stuck"- go for "sullivan's" or "504" if you try it.)
Post a Comment