First off, I am so sorry for this huge delay in posting. We went on vacation for Memorial Day, then we celebrated our anniversary, then I had to work really late for work for a few days, then my car for real died, then I had to go to the Baltimore, MD, area to babysit my nieces, then we had to try to buy a new car which was an unsuccessful disaster. Lesson learned: write all posts and schedule them for posting next time I do a QAL instead of writing as I go. Hopefully you all are hanging in there and aren't too mad at me about the delay. I am a little mad, but hopefully YOU aren't. That would break my heart.
I have to be honest about something else: I'm still playing catch-up for the QAL...can you believe that?! Late for my own project. Gahhh. So hopefully this week, I will be catching up to where you all are but I will go ahead and give you the next set of instructions.
Mini Quilt Instructions can also be found in the original post on the Fat Quarterly.
Laying Out Your Quilt:
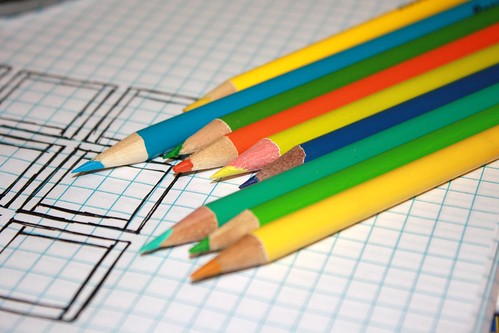
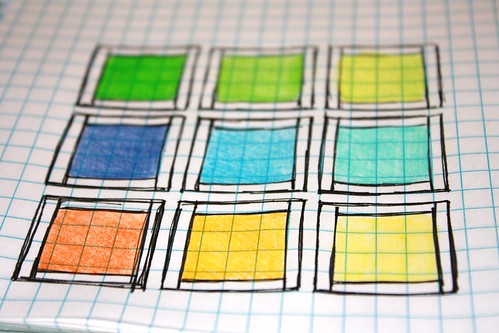
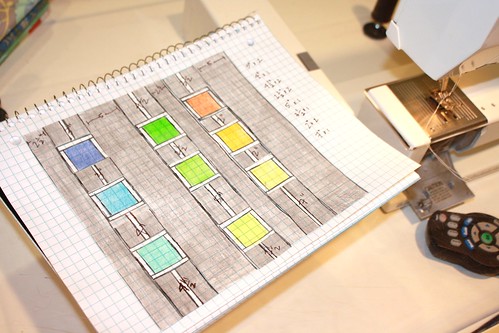
I’m a visual person and it helps me to draw things out so I used colored pencils and graph paper to draw my strips and squares:
Then I laid them out and taped them down the way I planned to sew them.
For the Mini Quilt, the goal is to cut 4 pieces from your connecting strip (the piece you created from the two 3.25" background fabrics and one 1.5" connecting strip) for each of your 3 columns (12 total) so that each set of four pieces adds up to 14 1/2″.
I was able to cut all my pieces from 1 finished strip but if you are working with smaller widths of fabrics you may have to make a couple of these.
If you decided to play around with the placement of your squares, follow your own notes. If you want to use the exact measurements I did you’ll need to cut the following pieces:
2″ – cut 2
2 1/2″ – cut 2
3″ – cut 2
3 1/2″ – cut 1
4″ – cut 1
4 1/2″ – cut 2
5″ – cut 1
7″ – cut 1
By column my measurements were (from top to bottom piece):
Column A (left): 3″ [square] 3″ [square] 4″ [square] 4 1/2″ = 14.5″
Column B (middle): 4 1/2″ [square] 2 1/2″ [square] 5″ [square] 2 1/2″ = 14.5″
Column C (right): 3 1/2″ [square] 2″ [square] 2″ [square] 7″ = 14.5″
Piece the sections you just cut to your squares in the order you wish them to be laid out on your quilt. Then piece your columns and strips together. Voila! Your quilt top is done.
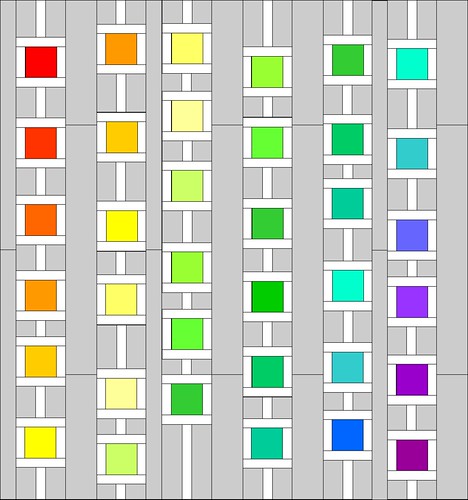
For the Lap Quilt, the goal is to cut 7 pieces from each of your connecting strips (the pieces you created from the two 3.25" background fabrics and one 1.5" connecting strips) for each of your 6 columns (42 total) so that each set of seven pieces adds up to 42″. It will take one connecting strip for each column (you should have made 6 of these per the previous instructions). The interesting part about this pattern is that the squares are randomly spaced in each column. Your goal will be to vary your cuts and placement of your cuts so that the squares are not in the exact same place in each column.
If anyone working on a lap quilt wants to wait until I have exact measurements, that's fine. If anyone wants to proceed and come up with their own measurements that's fine too! I will try and do a follow-up post with exact measurements for any who need that.
Have questions? Ask them on the Marshmallow Brochette Q&A discussion on flickr.
Happy Quilting
and sorry again!


2 comments:
I'm pretty sure we'll all survive. *S*
I'm sorry you had such a mixed bag of things going on, and I hope it all works out.
no worries natalie! take your time. i am way behind anyway so it works for me!
Post a Comment