Step 1: Sew your square and strip together using a 1/4" seam. Make sure that the edge of the square and the edge of the strips line up as you guide your fabric under your machine. You can pin the pieces in place if you prefer.
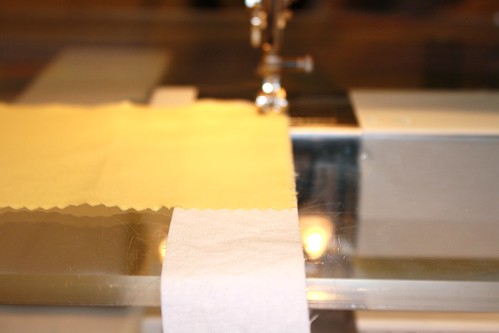
I generally snip my strips away from my blocks with scissors but if you would prefer you can use a rotary cutter or chain piece and then cut as I described in my earlier post. I typically repeat this for all of my squares until I have one side sewn for all.
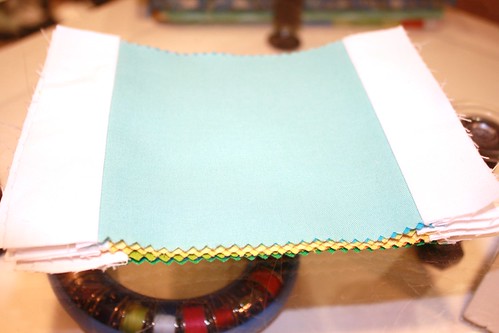
Step 2: Sew your strip to the opposite side of the square you just sewed and trim the border strip as described in step 1. Repeat for all squares. Press.
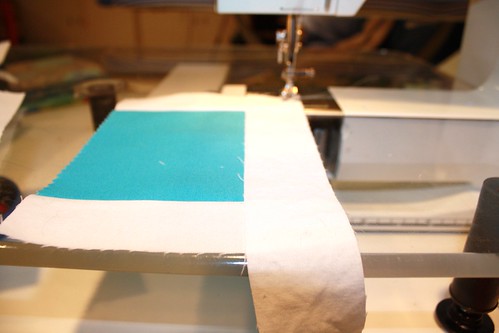
Step 4: Repeat the same steps for the remaining two sides.

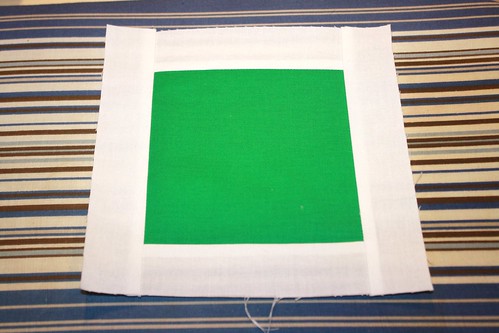
Until you have a big stack of pressed squares bordered on all 4 sides.
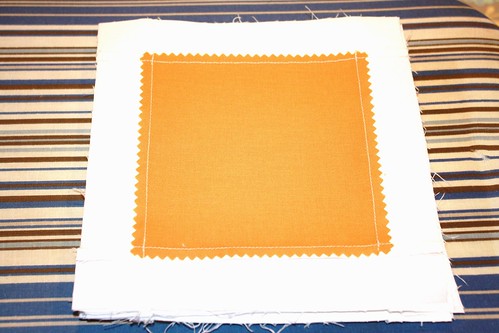
By the way, typically you should press your fabric toward the darker color, otherwise the darker color might show through to the other side. The above photos show that I pressed toward the lighter color. To be honest I really couldn't see my colored fabrics through the white so I didn't worry too much about it. It is up to you which direction you decide to press, and will also depend on your own fabric choices.
I hope this helps clear up any confusion! Please let me know if you have questions about any of the QAL steps. I would be happy to clarify any step in the process to make sure you are having the most enjoyable, successful experience possible.
Happy Quilting!
No comments:
Post a Comment