The time for the first Threaded Mess Quilt Along has finally arrived! Are you ready?
Great!
First, check out the flickr group I set up and join up! The group is open for you to join and share pictures of your progress during the Quilt Along. It will remain open for future QALs as well.
Second, despite the mock-up in my previous post I have decided to add a 6th column of squares, a 6th square to each column, and a 5" column to the lap quilt size of this pattern which extends the width of the quilt a bit more. I'm working on another mock-up but things have been a bit hectic around here so I will include it in a future post.
Third, let's get started!
My plan is to post on a weekly basis, providing detailed information for each step in the process.
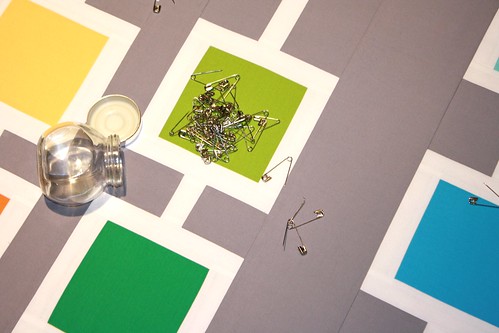
Week One: start gathering materials
Thread – for piecing and quilting
Rotary cutter, ruler, and mat to cut your strips
A piece of batting at least 36″x36″
Safety Pins (or whatever you use to baste your quilts)
Clips or pins to tack down your binding
Sewing machine
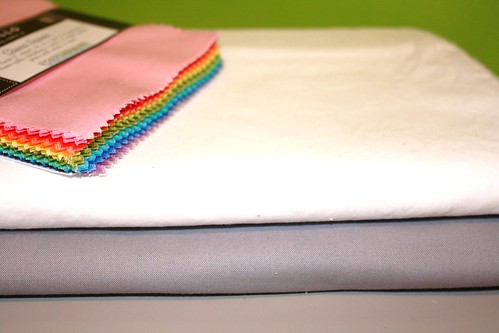
Fabric: The following cuts assume you are working with fabrics at least 42″ wide. If you are working with smaller pieces you will need to adjust to compensate.
3/4 Yard for your background fabric
1/2 Yard for your border/connecting strips (the fabric bordering and connecting your squares)
9 5″x5″ squares (I pulled from a Kona Solid Brights charm pack)
1/2 Yard for your binding
1 Yard for your backing
The above are the minimum fabric requirements for this project.
**********************************************************
LAP QUILT SUPPLIES - finished size about 83 x 63
Thread – for piecing and quilting
Rotary cutter, ruler, and mat to cut your strips
A twin sized package of batting (72"x93")
Safety Pins (or whatever you use to baste your quilts)
Clips or pins to tack down your binding
Sewing machine
Fabric: The following cuts assume you are working with fabrics at least 42″ wide. If you are working with smaller pieces you will need to adjust to compensate.
2 2/3 Yard for your background fabric
1 Yard for your border/connecting strips (the fabric bordering and connecting your squares)
36 5″x5″ squares
1 Yard for your binding
2 Yards of 108" backing fabric or a pieced combination of smaller width fabrics
The above are the minimum fabric requirements for this project.
Have a question? Ask it on the Q&A on flickr or here and I will try to answer it as quickly as possible.
We will be working on our layouts next week. I can't wait to get started on this project with all of you!
Happy Quilting
5 comments:
WOO HOO!! So excited!! Now to get my fabrics! I think I'm going to use some hand dyes charms I have and they will work awsomely with the gray! Just about finished with another quilt along, so this is perfect timing to start a new one!! YAH!! Thank you so much for hosting this!
Oh boy, Oh boy....nothing I like better than choosing fabrics. *S*
Thx for this and thx too for giving us a week in between I'll need that, no doubt.
Woo Hoo! So awesome. ! am joining in when I get back from my vacay next week. I promise to catch up!
just ordered my med grey kona. i have TONS of ash, but want to go medium for a change. all of the solids i am set bc i have a monthly membership from the pink chalk solids club. what luck! can't wait to get started. i've never done a solids quilts before.
I've been determined not to start a new quilt until I'm done with the two I'm working on but I'm REALLY tempted to do this quilt-along with all these charm squares I just bought!! It looks awesome.
Post a Comment