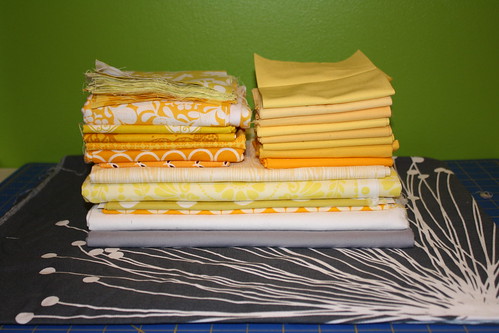
The fancy gray fabric on the bottom is an IKEA print I plan to use for the backing.
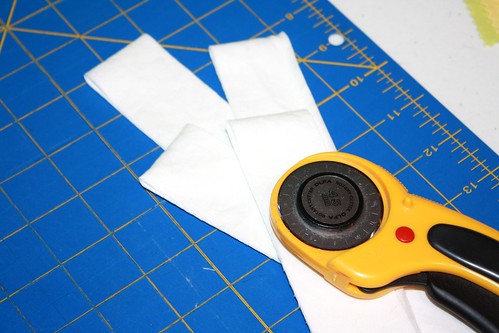
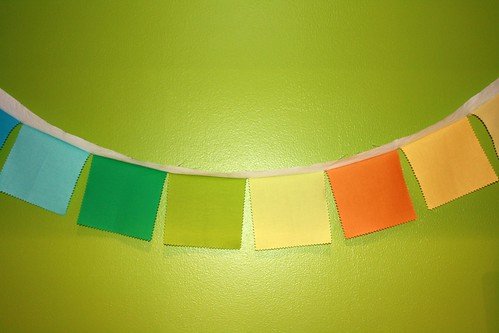
Step 1: Cut your 5" squares. If you bought charms you're already a step ahead! You will need 9 for the mini quilt or 36 for the lap quilt.

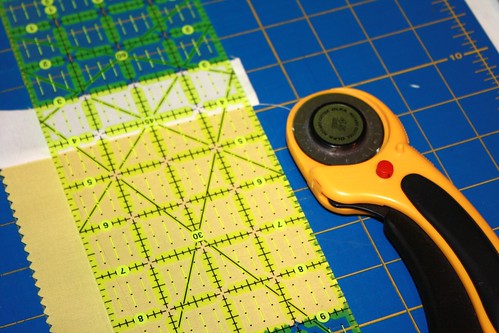
Step 2: Cut 1.5" inch strips. By my calculations you will need fourteen 1.5" strips to border your squares or six 1.5" strips to connect them for the lap quilt. You will need seven 1.5" strips total for the mini quilt.
Step 3: Border all of your squares with your 1.5" strips using a 1/4″ seam. You can piece, press, and trim with your rotary cutter:
flip and snip:

or chain piece
This is really a matter of personal preference! I tried it all three ways and decided I prefer to flip and snip but I won’t be offended if you don’t like that method.
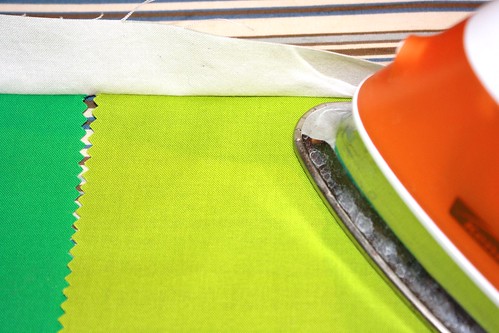
Press your seams as you go …
… and keep plugging until all 9 or 36 of your squares are bordered on all 4 sides.
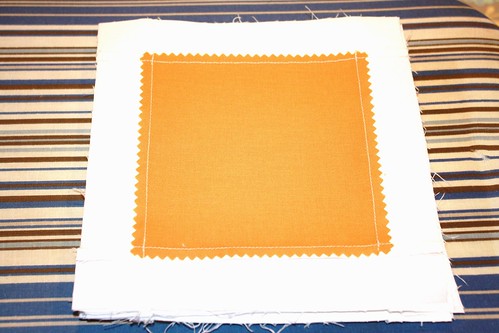
Those of you into precision should trim down your squares so that they are all exactly the same size at this point.
Step 4: Cut your background strips which will become part of the connectors for your squares. You will need twelve 3.25" by width of fabric (WOF) strips for the lap quilt or two 3.25" by WOF strips for the mini quilt.

Step 5: Piece your background and connecting strips, with a 1/4" seam allowance, so that your 1.5" strip is in the middle of your two larger background strips. Press your seams towards whichever fabric is the darker color.

Step 6: Cut your 5" and 2.5" strips. You will need two 2" strips and two 5" strips for the mini quilt. You will need six 2" strips and eight 5" strips for the lap quilt.
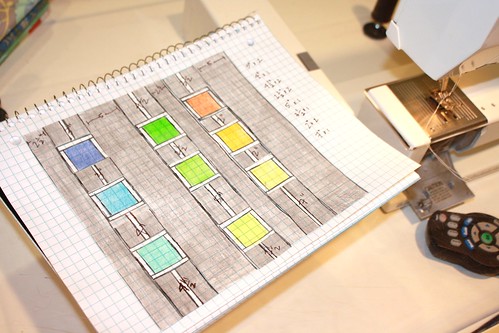
Step 7: For the lap quilt, you will need to combine your strips in order to get the length you need for the columns. Sew the 2" strips together in pairs on the short end so that you get long strips of fabric. You can do the same with the 5" strips but in my mock up I have cut one of the pair of strips in half and sewn it to either side of the paired strip so that I get 1 long strip with a top short segment, middle long segment, and bottom short segment. I did this so that my seams would be staggered instead of all in line with each other. It is up to you whether you would like them to be all the same, staggered by column (every other one), or by size (all 5" one way, all 2" another way as shown in the mock up). This is a matter of personal preference and won't affect the pattern.

Next week we will be laying out our quilt, cutting our connectors, and piecing the top. If you're like me and need a visual aid to help you plan your quilt out, plan to get some graph paper, pencils or markers, and some tape.
You can join the QAL anytime. If you are joining us, make sure to join the Threaded Mess Marshmallow Brochette flickr group (if you haven't already) and share pictures of your progress so that we can all cheer you on!
Happy Quilting
3 comments:
Well, that looks easy enough. *snort*
This is one of those questions I feel a little silly asking but I bet there are others who wonder too. When you only need one little piece like a charm square from yardage, how do you cut it?
I tend to cut a WoF strip the correct width and then cut off of that. I assume that I'll use the rest of the strip for something. But I got to wondering what was the "correct" technique.
Bijoux, that is how I cut my little pieces too. I don't think that there is a 'correct' way to do this necessarily. I think you should cut it whatever way works best for you and the way you use your fabric. Cutting a strip that is the correct height by width of fabric and then cutting whatever smaller piece(s) I need from that works the best for me. I save my scraps and use whatever is left for another project.
Post a Comment